Switchboard to the World: Building a Radio-less AllStar Hub
Published (updated: ) in Learning Journal. Tags: AllStar.

What is going on here?
We have noticed that when one of our ham operator friends begins to get into AllStar, the number of nodes around them seems to multiply like rabbits or mushrooms.
After building this hub with the help of friends a few days ago, enough people began asking for some guidance on how we did it so I figured an article might be helpful for both my and their future reference.
Use Case
Our use case here is to build a simple and inexpensive AllStar node without a radio interface that we can use as a hub, to connect our other nodes and allow connections from others. This hub is also a part of my “TriStar” setup you can read more about.
If you have the spirit of experimentation you are in the right place!
Prerequisites and Warnings
You should be comfortable with things like Raspberry Pi’s, SSH and nano or be willing to learn and follow the instructions here. You should also be comfortable with the idea that making a mistake could disrupt your node or that a future software update could break the changes you are making.
It goes without saying you have an amateur radio license, and we assume you have registered with AllStarLink and have an available node number. If you need to request a second node number or extend an existing node number, plan on doing so a day or two before this project to ensure you have it in time. Be mindful that extending an existing node number currently in use will necessitate reconfiguring the impacted node.
Be sure to explore the AllStarLink Wiki for deeper detail and help.
Hardware Shopping List
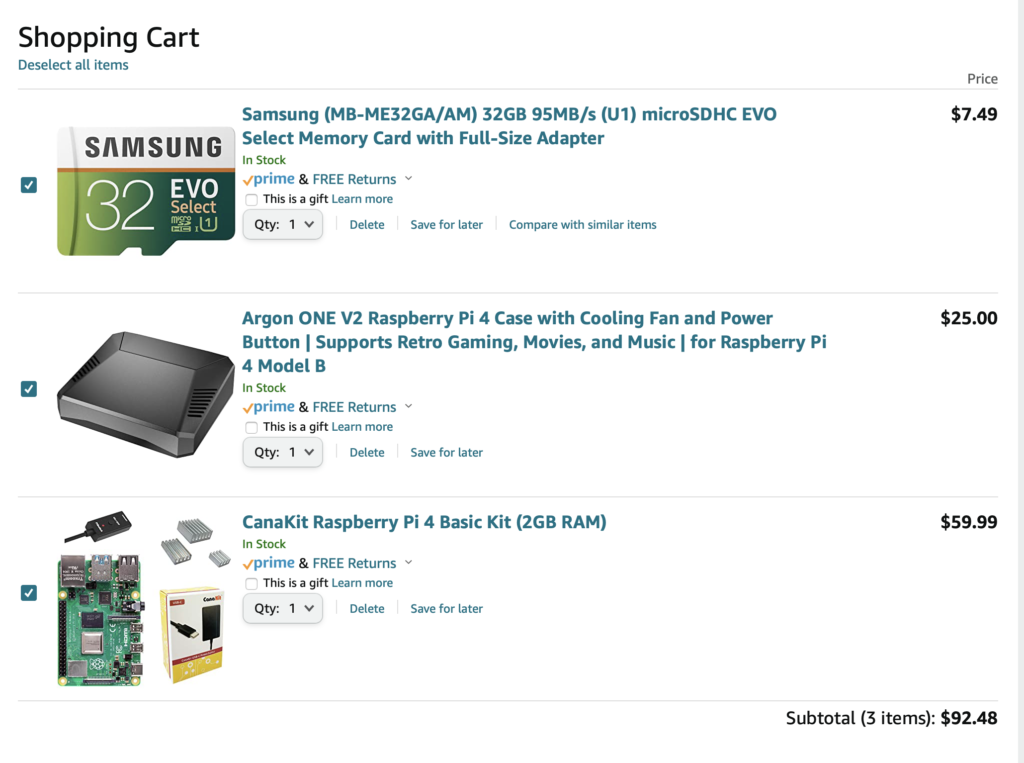
You will need the following items which can be affordably acquired from places like Amazon.com:
- Raspberry Pi 3 or above with power supply
- A micro SD card for the Pi (8GB is enough)
- Suitable case for your specific Pi model (fan if you are concerned with heat, or no fan if you are concerned with noise)
- (Optional) USB Audio adapter with audio-out jack (example)
- Be sure you have an available monitor, HDMI cable, ethernet cable and USB keyboard to control the Pi in the beginning or if you need to connect to it directly
As of this writing a budget of $100 should be plenty assuming you have the monitor and keyboard lying around. Here is an example from the time of this writing:
Software Shopping List
Well the best part about the software is it should cost you nothing.
- Hamvoip image appropriate for your Pi and the computer operating system you will use to image the SD card
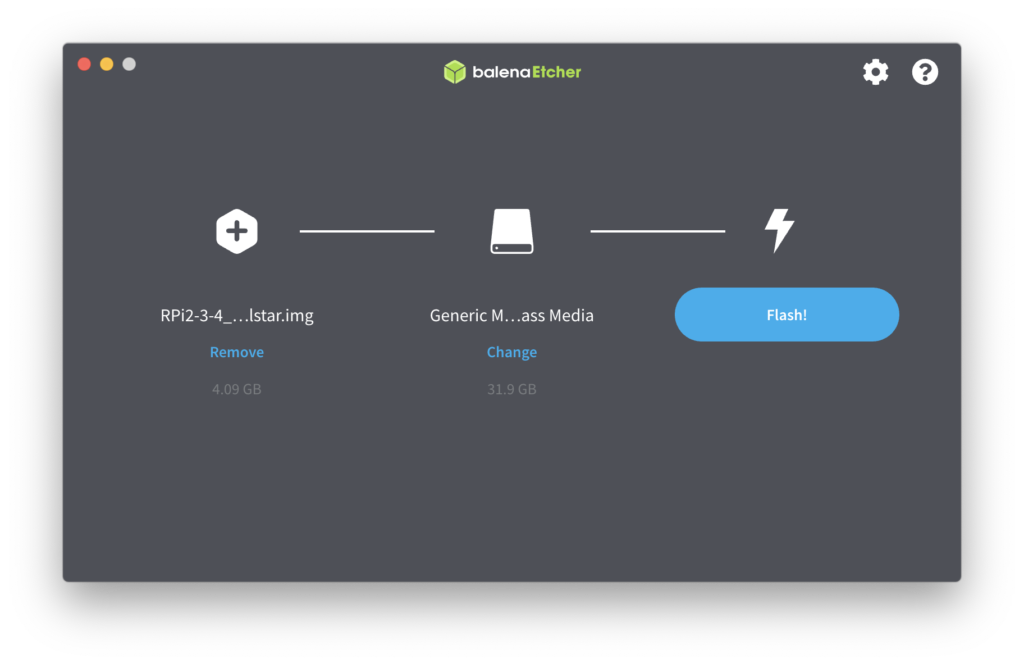
- Tool to image the SD card (e.g. Etcher for macOS)
Step 1. Download the Image and Write the SD Card
Download the image described above and write it to your fresh SD card. Step by step guidance is beyond the scope of this article and can easily be obtained by searching online.
Step 2. Assemble your Pi and Insert the SD Card
Follow the instructions that came with your case to assemble it with the Raspberry Pi board and insert the imaged SD card. Be sure not to attach the power supply until we’re ready to go. Go ahead and attach your monitor, keyboard and network using the ethernet cable. Don’t worry about the audio adapter, we’ll add that later.
Step 3. Collect and Document Your Allstar Information
Create a note or spreadsheet that includes the new node number you plan to use, the port number you chose in the corresponding server entry (be sure to make them unique for each device you are adding), and add space for the IP address the node will get later and anything else you would like to track. It might be helpful to draw a diagram if you have multiple nodes to keep everything straight. Double check everything with what you have entered for you account on AllStarLink.
For deeper detail about the following steps and future reference, download and read the Supermon guide on Hamvoip.
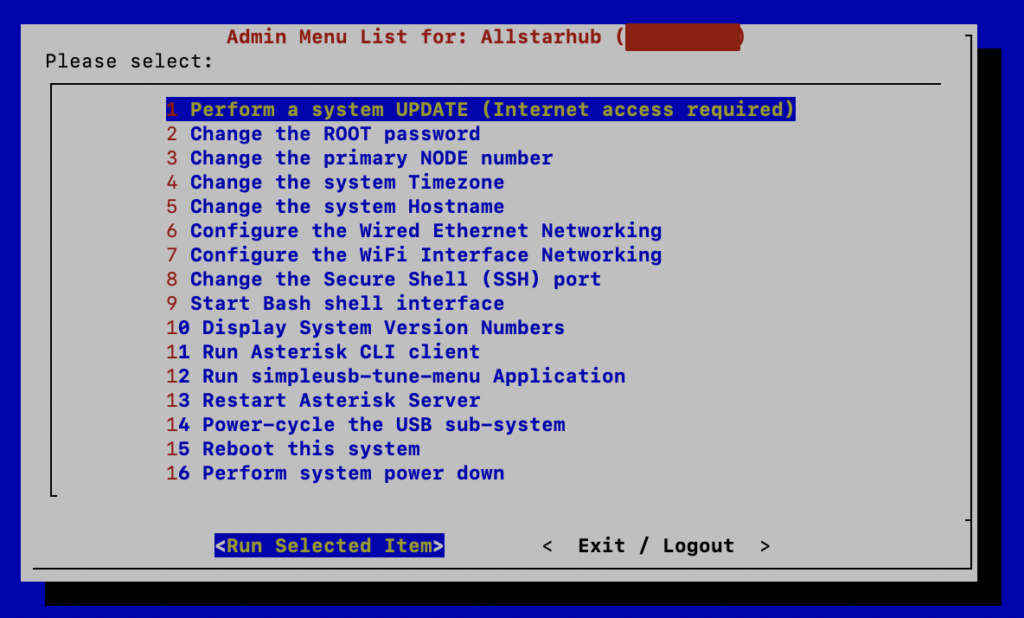
Step 4. Start Your Pi and Follow the AllStar Setup
And now we begin! With everything setup, now you can power on the Pi and follow the setup wizard the comes pre-installed with the Hamvoip image. It will ask you for the new node number and port, etc., that you have recorded in your list. Note the password you choose so you can SSH back in later.
[Screenshots]
Step 5. Give Your Node a Static IP Address
This can be done through a DHCP reservation on your Internet router or by a configuration change in the device settings. Step by step guidance is beyond the scope of this article and can be easily obtained by searching online. Record this IP address in your list.
Step 6. SSH Into Your Node
With the wizard complete, now it is time to SSH into your node and make some configuration changes so it can see the other nodes on your network and so you can control it and the other nodes using Supermon. You no longer need the monitor and keyboard unless you want to keep it connected. Go back to your computer and fire up your terminal of choice and log in as root using the password you chose earlier:
> ssh root@[IP address]You will be presented with the AllStar menu, which you can explore and use, then choose Go to Bash Shell to proceed with the steps below.
Step 7. Edit Configuration Files
To allow this node to be accessed by other nodes on your network, edit:
nano /etc/asterisk/manager.confand switch the bindaddr comment from the first line to the second:
;bindaddr = 127.0.0.1   ; Local interface only!
bindaddr = 0.0.0.0    ; Not secure
Populate the admin password:
[admin]
secret = [insert your password here]
Next you will need to tell your node about the other nodes on your network by adding entries for all of your other internal nodes, edit:
nano /etc/asterisk/rpt.confFor this illustration the node we are working on has a node number of 1234 and a default port number of 4569. Look for the default two entries for the node you are working on (near the bottom) and add entries for the additional nodes:
[1234] = radio@127.0.0.1:4569/[1234],NONE
[OtherNode#1] = radio@[IP Address]:[Port]/[OtherNode#1],NONE
[OtherNode#2] = radio@[IP Address]:[Port]/[OtherNode#2],NONE
1999 = radio@127.0.0.1:4569/1999,NONE
The [OtherNode], [IP address] and [Port] for the new lines should be replaced with the values from your other nodes and look something like this for each new entry:
[2345] = radio@192.168.2.45:4575/[2345],NONEWith that complete, you can move back toward the beginning of the file for the next change. For a typical radio-less node you plan to use as a hub or will plug a headset into, you can set the duplex mode to full duplex with the entry below:
; REPEATER/SIMPLEX NODE SETTINGS
                                ; duplex=0 - Half duplex with no telemetry
                                ; tones or hang time. Special Case: Full
                                ; duplex if linktolink is set to yes.
                                ; This mode is preferred when interfacing
                                ; with an external multiport repeater controlle$

                                ; duplex=1 - Half duplex with telemetry tones
                                ; and hang time. Does not repeat audio.
                                ; This mode is preferred when interfacing a
                                ; simplex node. This is the default mode.

                                ; duplex=2 - Full Duplex with telemetry tones
                                ; and hang time. This mode is preferred when
                                ; interfacing a repeater.

                                ; duplex=3 - Full Duplex with telemetry tones
                                ; and hang time, but no repeated audio. Often
                                ; used for radio-less nodes.

                                ; duplex=4 - Full Duplex with telemetry tones
                                ; and hang time. Repeated audio only when the
                                ; autopatch is down.
duplex=3
Lastly, to enable Supermon to see and manage the other nodes, edit:
nano /srv/http/supermon/allmon.iniand add entries for the other nodes with the node number, correct IP addresses, password:
[Node#]
host=[IP Address]:5038
user=admin
passwd=[password]
menu=yes
hideNodeURL=no
Also populate the All Nodes line with the nodes numbers for all the nodes you added. You will need to create an account to access Supermon following the instructions in Step 3 of the Supermon guide.
Be aware when you hardcode internal IP addresses and so forth in these configuration files on any nodes you plan to use outside your network, you will need to comment out or undo these changes in order to use them elsewhere.
Step 8. Configure Port Forwarding on Router
Assuming you plan to allow incoming connections to the hub, turn on port forwarding on your router for the port you chose for this server and the internal static IP address that has been assigned and documented in your list. Step by step guidance is beyond the scope of this article and can easily be obtained by searching online for instructions on your router.
Step 9. Reboot, Test and Enjoy
Now exit and return to the AllStar menu and select Reboot the system. You can now test accessing your node from other nodes. If you have to go in and make changes, remember to reboot after you make a change to the configuration files and should you use a wizard or accept an upgrade, your changes made have to be reapplied.
Step 10. (Optional) Add Speaker
Now that everything is working, you can add the USB Audio adapter (may need to reboot) and plug in a speaker if you would like to hear the audio out from the node without connecting to it otherwise.
Updated March 2020: Read here for details about full duplex audio headset with PPT!
Acknowledgements
This article would not have been possible without the generous help and input from Daniel KD6KHI and Adrian KK6HNG.